Understanding Water Heater Types
When embarking on the journey of fitting a new water heater, it’s essential to understand the various types available and how they will influence your installation process. The correct choice can enhance energy efficiency and ensure consistent hot water supply for your household needs. For practical guidance on how to fit water heater, familiarity with these types is crucial.
1. Electric vs. Gas Water Heaters
Water heaters typically operate on two primary fuel sources: electricity and gas. Each type has distinct advantages and disadvantages, which can significantly impact your home’s energy efficiency and overall installation complexity.
Electric Water Heaters
Electric water heaters are often easier to install than gas models. They typically have simpler plumbing needs and do not require a venting system. They can be found in various capacities, including tankless options for more efficient space usage. However, they usually take longer to heat water compared to gas models.
Gas Water Heaters
While usually quicker in heating water, gas water heaters involve a more complex installation due to the necessity of venting gas properly to avoid dangerous leaks. They can also require additional fittings and safety valves, leading to increased costs during installation.
2. Choosing the Right Size for Your Needs
Selecting a water heater of the appropriate size is vital to meet your household’s hot water demands efficiently. Common sizes range from 20 to 80 gallons, with gas and electric models catering to diverse needs. Here’s a quick guideline:
- 1-2 people: 20-30 gallon heater
- 3-4 people: 30-50 gallon heater
- 4+ people: 50-80 gallon heater
For households with higher demands, consider tankless water heaters, which provide hot water on demand without the need for a storage tank.
3. Key Features to Consider
When choosing a water heater, analyzing key features can help streamline your decision. Consider the following:
- Energy efficiency: Look for models with higher Energy Factor ratings. These systems use less energy while providing the same amount of hot water.
- Recovery rate: This indicates how quickly a heater can heat water. A high recovery rate is desirable for larger families.
- Manufacturer warranty: A longer warranty often indicates a more reliable product.
Essential Tools and Materials for Installation
Before starting your installation, gather the necessary tools and materials to ensure a smooth process. Having everything ready can save you time during the installation.
1. Basic Tools You Will Need
- Pipe wrenches
- Adjustable pliers
- Drill and drill bits
- Screwdrivers (both flathead and Phillips)
- Tape measure
- Level
- Bucket for draining old heaters
2. Recommended Safety Gear
Safety should always come first during installation. Essential safety gear includes:
- Safety goggles
- Work gloves
- Dust masks
- Hearing protection (if using power tools)
3. Necessary Fittings and Accessories
Depending on the type of water heater you choose, you may need specific fittings and accessories, such as:
- Cold and hot water inlet/outlet fittings
- Temperature and pressure release valve (T&P valve)
- Venting pipes (for gas models)
- Seismic straps for earthquake-prone areas
- Silicone sealant for connections
Step-by-Step Process on How to Fit Water Heater
Once you’ve selected your water heater and gathered the necessary tools, it’s time to go through the installation process. Each step is crucial for ensuring a successful setup.
1. Preparing the Installation Site
Begin by ensuring the installation site is prepared properly. This includes:
- Turning off the electrical or gas supply to the existing heater.
- Flushing the old heater to remove sediment and debris.
- Disconnecting water and gas lines (if applicable) carefully to prevent damage.
- Cleaning the area to make room for the new installation.
2. Installing the Water Heater and Plumbing Connections
After preparing the site, follow these steps to install your new water heater:
- Position the Heater: Carefully lift and place your new water heater onto the designated area.
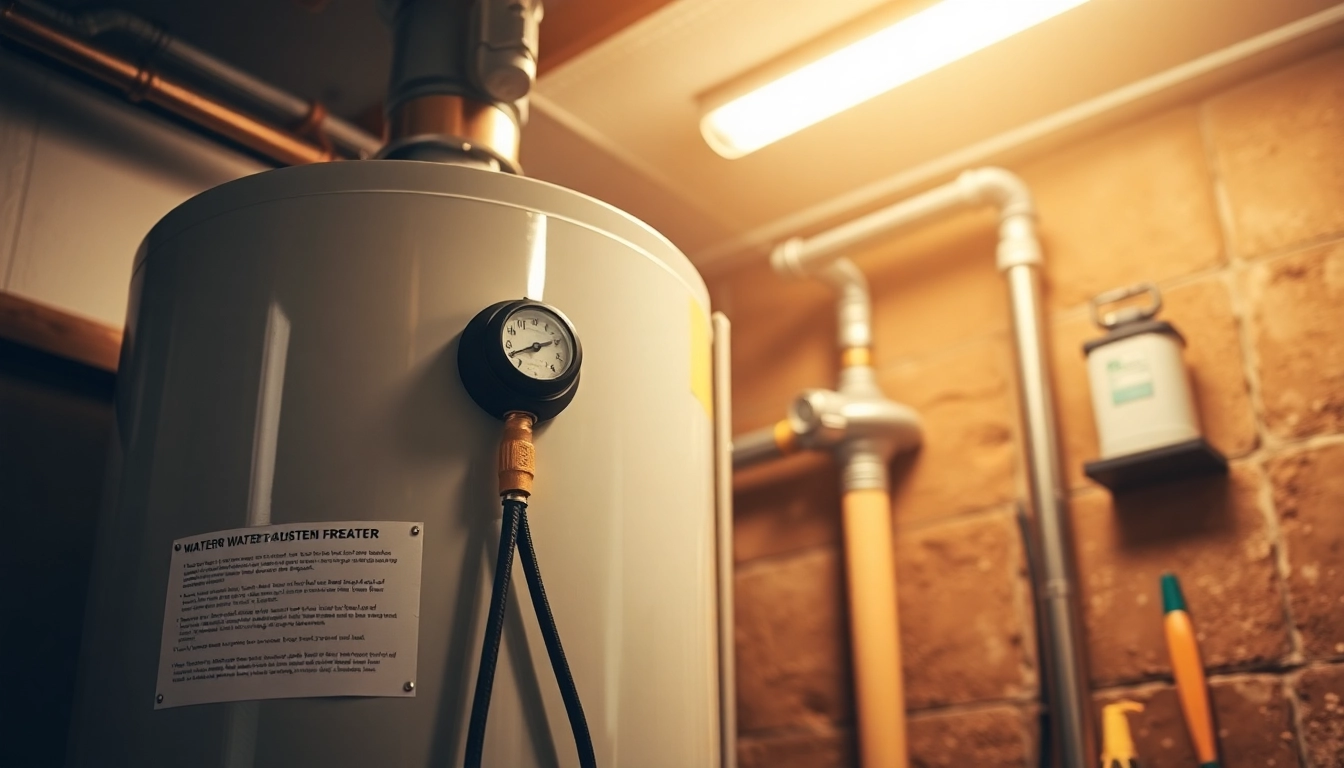
- Install the T&P Valve: Follow manufacturer instructions to attach the Temperature and Pressure release valve. This is essential for the safety of the unit.
- Connect the Discharge Pipe: Securely attach a discharge pipe to the T&P valve, ensuring it is directed to a safe drainage area.
- Hook Up the Water: Connect the cold water inlet and hot water outlet using appropriate fittings.
- Install Additional Fittings: Make sure to secure all connections and ensure they are leak-proof.
- Testing for Leaks: Turn on the water supply slowly to check for leaks at all connection points.
- Power Connection: For electric models, ensure the heater is correctly connected to the power source, following all electrical codes.
- Secure the Heater: Those in seismic zones may need to install straps to hold the water heater firmly in place.
3. Final Testing and Adjustments
Once the installation is complete, perform the following tests:
- Check all fittings for leaks and re-tighten as necessary.
- Test the temperature settings and adjust as required.
- Run hot water from a faucet to ensure the system is functioning correctly.
- Monitor the heater for the first few hours to catch any issues early.
Common Challenges and How to Overcome Them
While installing a water heater can be a DIY project, it’s not without its challenges. Here are common issues you might encounter and how to handle them.
1. Troubleshooting Installation Issues
Should you face challenges, consider these common issues:
- Water not hot enough: This could be a sign that the thermostat isn’t set correctly or that there’s a problem with one of the heating elements.
- Strange noises: Noises like banging or humming can indicate sediment build-up or failing components. Flushing the tank can help alleviate this.
2. Handling Leaks and Fixes
Leaks can be concerning. Here’s how to address them:
- Locate the source of the leak. Common culprits include fittings and the T&P valve.
- In many cases, tightening the fittings can resolve minor issues. If that doesn’t work, you may need to replace seals or fittings entirely.
3. Ensuring Proper Ventilation and Safety
For gas water heaters, proper ventilation is critical to avoid hazardous situations:
- Ensure that your gas venting is clear of obstructions.
- Keep an eye on carbon monoxide detectors to maintain safety.
Professional Installation vs. DIY
While DIY installations can be rewarding and cost-effective, there are times when enlisting a professional is the best course of action. Here’s how to determine the right approach for your situation.
1. When to Call in a Professional
Consider hiring a professional if:
- You are uncomfortable working with electrical or gas connections.
- The installation requires significant alterations to plumbing.
- You lack the time or tools necessary for the job.
2. Cost Comparison: DIY vs. Hiring a Pro
While DIY can save money, consider the following:
- A typical DIY installation can save you hundreds in labor costs, but mistakes can lead to more significant expenses.
- Hiring a professional typically costs between $900 and $1,200 for electric water heaters, including both the unit and installation fees.
3. Benefits of Professional Assistance
While tackling installation yourself can be fulfilling, hiring a professional offers several benefits:
- Expertise ensures compliance with local building codes and safety standards.
- Professionals usually offer warranties on labor, providing peace of mind.
- They can quickly troubleshoot issues during installation, minimizing potential complications.
In conclusion, fitting a water heater requires careful planning, thorough installation, and ongoing maintenance. By understanding the different water heater types, preparing adequately, and knowing when to seek professional help, you can ensure a smooth installation process that meets your household’s hot water needs efficiently.